How Does PCB First Article Inspection Really Work
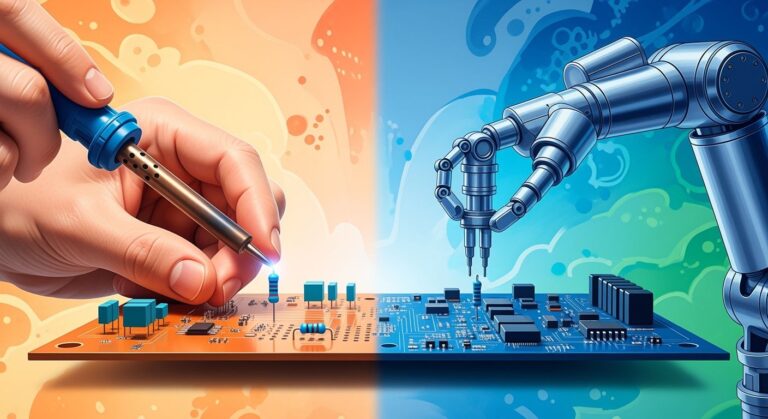
You use pcb first article inspection to check the first circuit board. This happens before you start making many boards. The process helps you find problems early. You can fix mistakes and make future boards better. You follow steps like getting ready, checking, measuring, writing notes, and looking over everything. These steps help you compare the board to the design plans. The table below shows how these actions help make more good boards and save money:
| Key Factors | Impact on Yield Rates |
|---|---|
| Early defect identification | Improves first-pass yield (FPY) |
| Timely corrections | Lowers costs from fixing and waste |
| Continuous improvement | Makes yield results better |
Key Takeaways
- Do PCB first article inspection to find mistakes early. This helps save time and money when making many boards.
- Use clear papers and rules to help with inspections. This makes sure every board matches the design needs.
- Use both people and machines to check the boards. Doing both makes checking better and helps find more problems.
- Ask the client to approve after you check the board. This shows the product is good before making many of them.
- Always try to make your inspection better. Learning from each check helps make better boards and improves how you work.
What Is PCB First Article Inspection
Purpose and Importance
You use pcb first article inspection to make sure the first printed circuit board matches all the design requirements. This process helps you check if the board meets every detail in the plans. You set a standard for the rest of the production. When you do this, you create a record that guides how you make every other pcb in the batch.
The main goal of pcb first article inspection is to confirm that the board fits the design and quality standards. You want to catch any mistakes before you make many boards. This step helps you avoid problems that could cost a lot of money later. When you find and fix issues early, you make sure the rest of the boards will be good.
You also use this process to keep your production consistent. If you follow the same steps every time, you get the same results. This makes your work more reliable and helps you build trust with your customers.
Tip: Always check the first board carefully. This helps you avoid big problems in mass production.
When and Why It’s Performed
You perform pcb first article inspection at key moments in the manufacturing process. You do this before you start making many boards. You also use it when you change the design, switch suppliers, or restart production after a long break.
Here are some common reasons why you need to do this inspection:
- You want to catch problems before mass production starts. This saves you money and time.
- You need to make sure the board meets all design specifications.
- You want to prevent costly errors and downtime.
- You check for wrong materials, poor placement, or equipment mistakes.
- You make sure you can tell if a part is good or not.
You use fai to find and fix issues early. If you do not check the first board, you might make many boards with the same problem. Fai helps you avoid this risk. You make sure the process works well before you make a lot of boards.
The table below shows when pcb first article inspection is required and why:
| Scenario | Reason for FAI |
|---|---|
| New product introduction | Ensures the product meets specifications before mass production. |
| Design changes | Verifies that modifications have not affected quality. |
| New supplier or production facility | Ensures consistency across different locations. |
| Production pause (over 2 years) | Ensures process stability before restarting production. |
| Industry regulations | Aerospace, medical, and automotive industries require FAI for compliance. |
You see that pcb first article inspection is not just a step. It is a safety net that protects your production from big mistakes. You use it to make sure every pcb you build is right from the start.
PCB First Article Inspection Steps
Preparation and Documentation
You begin pcb first article inspection by collecting important papers. You check design records and make sure you have material certificates. You look at test results for raw materials and special process certificates. You also get a balloon drawing and set up measurement system traceability. These records help you compare the printed circuit board to the design plans.
Here is a table that shows what documents you need and why they matter:
| Documentation Type | Purpose |
|---|---|
| Measured Attributes | Check size, voltage, and resistance match the design. |
| Manufacturing Issues | Find problems in the PCBA process and make changes. |
| Source Validation | Make sure parts and materials are correct. |
| Documentation Verification | Clear up any confusion in the paperwork. |
You also collect certificates of conformance and a list of fai requirements. You make an inspection report with details like size, hole placement, color, and flexibility. Good documentation helps you meet all rules and needs. It lowers the chance of mistakes and keeps your product strong. These records help you with future checks and audits. If you plan ahead, you make sure later parts meet customer needs and follow the rules.
Note: Industries like aerospace, automotive, and medical devices use fai to keep things precise and avoid big mistakes.
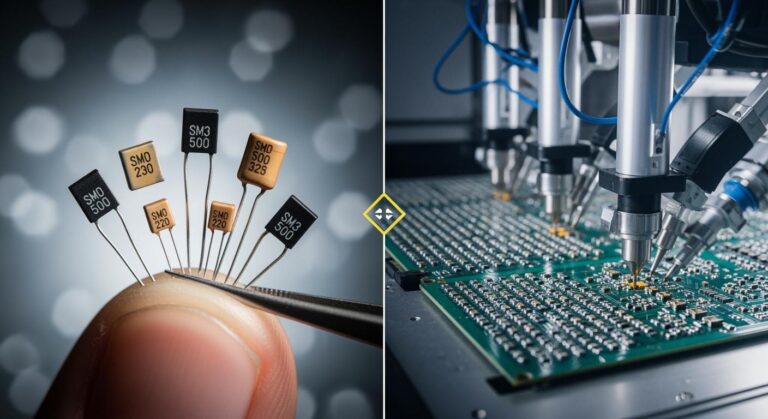
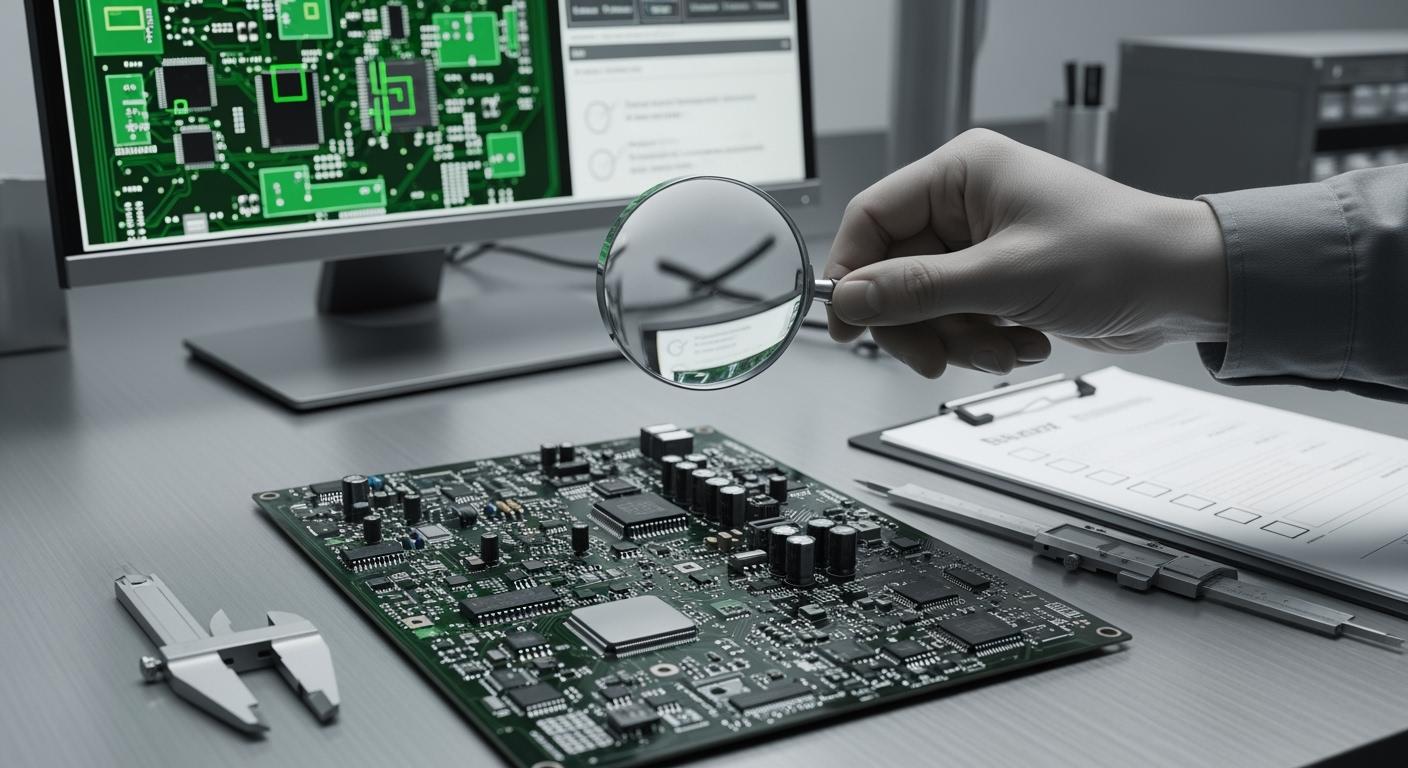
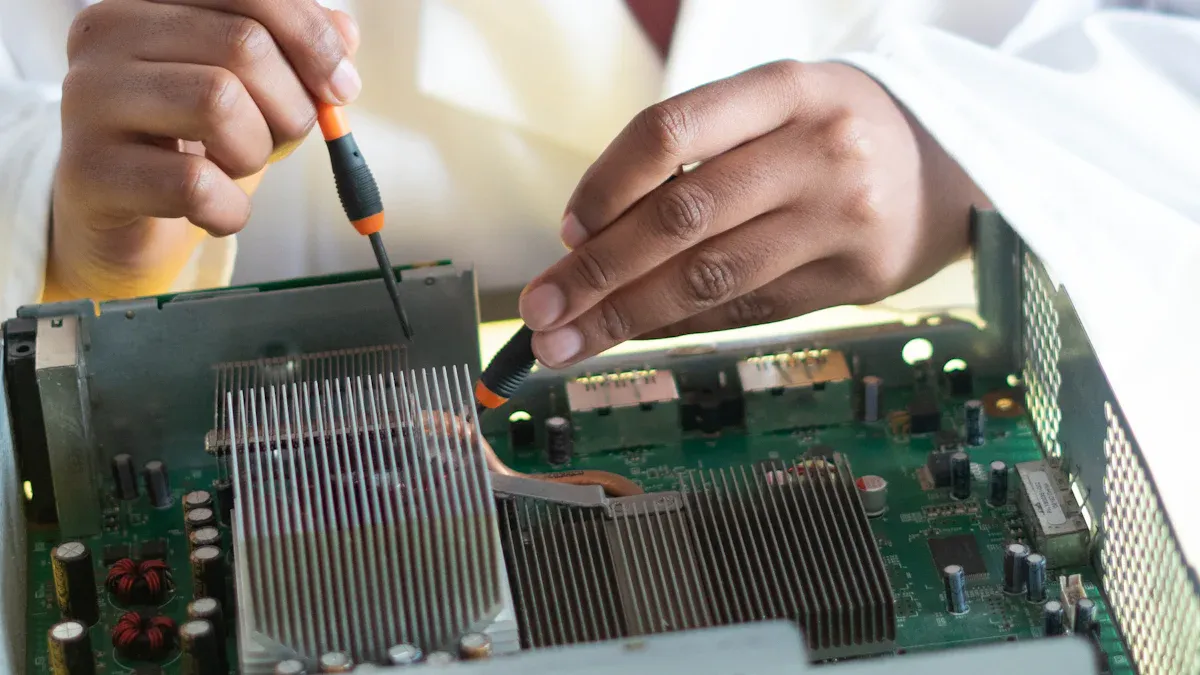
Visual and Digital Inspection
You use your eyes and digital tools to check the pcb. First, you do a manual inspection. You look for surface problems, missing parts, and bad solder joints. You use magnifying tools to see tiny issues. Next, you use automated optical inspection (AOI) systems. These machines scan the pcb and compare it to the CAD data. AOI finds small defects, like solder joint problems less than 0.1 mm. AOI can catch more than 95% of defects. Manual checks can miss things because people make mistakes.
You might also use X-ray inspection. This lets you see inside the board without hurting it. You can find hidden problems in layers or under parts.
Here is a table that shows the main ways to inspect:
| Inspection Method | Description |
|---|---|
| Manual PCB Inspection | An expert looks at the PCB with magnifying tools to find defects. |
| Automated Optical Inspection (AOI) | Uses cameras to spot missing parts and bad solder joints. |
| X-Ray Inspection | Uses X-rays to look inside and check hidden parts without damage. |
Digital imaging tools make pcb first article inspection more accurate. They help you find problems that manual checks might miss. You use CAD data and digital scans to make sure every part matches the design.
Measurement and Testing
You measure and test the pcb to check if it meets engineering standards. You check size, hole placement, and other details. You use special tools to measure voltage, resistance, and flexibility. You do flying probe or in-circuit testing to look for short circuits and open circuits. You run continuity and insulation tests to check electrical performance. You check impedance control for high-frequency circuits using time-domain reflectometry (TDR).
Here is a table that shows common tests and why you use them:
| Testing Method | Purpose |
|---|---|
| Flying Probe Testing | Finds short circuits and open circuits. |
| Continuity Testing | Checks for good electrical paths and finds opens or shorts. |
| Insulation Testing | Makes sure different nets are separated, especially in high-voltage PCBs. |
| In-Circuit Testing | Measures voltage and current and checks for bad parts. |
| Hi-Pot Testing | Checks for good isolation in PCBs with thin layers. |
| Impedance Control Testing | Checks impedance for high-frequency circuits using TDR. |
You use these tests to make sure the pcb matches the design and works right. Each step checks the board against engineering specs and standards.
Recording and Approval
You write down everything you find during pcb first article inspection. You keep written and visual records to show what you checked and found. You note any problems and how you fixed them. You do a sample inspection to check features against customer drawings and design needs. You do a careful review to see if the product meets customer standards.
You need client approval before you start mass production. The client looks at your records and checks the ‘Golden Sample.’ This sample becomes the standard for all future boards. Client approval is the final check for the manufacturing process. It makes sure the product meets all rules before you make many boards.
Tip: Always keep clear records and get client approval. This step protects your process and helps you avoid expensive mistakes.
Each step in pcb first article inspection helps you check the board against engineering specs and standards. You use scanning, CAD data, and digital imaging to make sure every detail matches the design. You write everything down and get client approval before mass production starts.
First Article Inspection Criteria and Tools
Standards and Acceptance Criteria
You need clear rules to see if a printed circuit board passes first article inspection. The most used rule is IPC-A-610. This rule tells you how pcb assemblies should look and work. You use it to check things like where parts go, how solder joints look, if the board is clean, and if markings are right. These rules help you know if a board is good for your customer.
Here is a table that shows what IPC-A-610 checks:
| Standard | Description | Revision |
|---|---|---|
| IPC-A-610 | Outlines acceptance criteria for PCB assemblies, including first article inspections. | IPC-A-610H (2025) |
| Standard | Key Focus Areas | Class |
|---|---|---|
| IPC-A-610 | Component placement, Solder joints, Cleanliness, Marking | Class 2 |
You also use the 5M1E framework to check quality during fai. This method helps you look at every part of making the board. You check people, machines, materials, methods, measurements, and the environment. Each part can change how good your pcb is.
| Component | Description |
|---|---|
| Man/Manpower | Refers to the human resources involved in the PCB production process and their impact on quality. |
| Machines | Involves the equipment used for manufacturing PCBs and how their performance affects quality. |
| Materials | Pertains to the raw materials used in PCB production and their quality standards. |
| Methods | Encompasses the processes and techniques employed during production that influence quality. |
| Measurements | Relates to the metrics and standards used to assess quality during inspections. |
| Environment | Considers the conditions under which production occurs, which can affect the final product. |
Tip: Always use clear rules and check every part of the process. This helps you find problems before you make many boards.
Inspection Equipment and Methods
You use special tools to check your pcb during fai. Automated Optical Inspection (AOI) systems use cameras to find tiny problems. AOI can scan up to 150,000 parts every hour. This makes checking fast and correct. AOI finds very small problems, like parts that are not lined up or scratches. Manual checks cannot find all these tiny problems.
You also use X-ray inspection to look inside the board. This way, you can find hidden problems that AOI might miss. Flying probe testing checks electric paths without needing special tools. In-circuit testing checks how each part works on the board.
Here is a table that compares these ways to check:
| Inspection Method | Description | Key Features | Limitations |
|---|---|---|---|
| Automated Optical Inspection (AOI) | Uses high-resolution cameras to inspect PCBs for defects. | Processes up to 150,000 components per hour, reducing inspection time. | May miss defects in hidden areas. |
| X-Ray Inspection | Utilizes low-energy radiation to visualize internal structures of PCBs. | Detects defects as small as 0.1mm, ideal for high-reliability applications. | Expensive and slower than AOI. |
| Flying Probe Testing | Employs movable probes to check electrical connectivity on PCBs. | No custom fixtures needed, high accuracy, over 95% test coverage. | Slower than automated methods, less suitable for mass production. |
| In-Circuit Testing (ICT) | Evaluates functionality of individual components on assembled PCBs. | Measures resistance, capacitance, and performance with high precision. | Requires custom fixtures, costly and time-consuming setup. |
- AOI systems can find tiny problems, like parts that are not lined up or scratches.
- AOI is very accurate and helps make products more reliable.
- Manual checks can miss problems because people make mistakes.
You use these tools and rules to make sure every pcb is good before you make many boards. This keeps your boards strong and helps you avoid big mistakes.
Common Issues and Solutions
Typical Defects Found
When you do first article inspections, you often find many problems. These problems can make your pcb not work well or break down. It is important to find these issues early. If you catch them before making many boards, you can fix them.
Here is a table that lists the most common defects you might see:
| Defect Type | Description |
|---|---|
| Solder Joint Defects | Problems with connections, like cold joints, too much solder, or solder bridges. |
| Component Misplacement | Parts put in the wrong place or not lined up, which can make the board fail. |
| PCB Manufacturing Errors | Mistakes made when building the board, like broken traces or holes in the wrong spot. |
| Surface Contamination | Dirt, dust, or leftover flux that can hurt how the board works. |
| Burn Marks or Physical Damage | Cracks, color changes, or other damage from handling or testing. |
You might also see these problems during fai:
- Fake or missing parts that make the board not work.
- Bad soldering that causes the board to fail.
- Parts not lined up, which can cause shorts or damage.
- Open circuits or shorts that stop the board from working.
- Bad conformal coating that lets the board rust.
Tip: Always look for these problems during your check. Finding them early helps you stop bigger problems later.
Corrective Actions and Rework
When you find a problem, you need to fix it fast. Fixing problems right after first article inspections saves time and money. If you repair things quickly, you will not have big delays or high costs later.
Here is a table that shows how to fix soldering problems:
| Failure Type | Immediate Action | Root Cause Investigation |
|---|---|---|
| Solder defects | Check reflow profile, stencil | Look at paste age, profile settings |
You should check your process and tools. For example, if you see solder problems, look at your oven settings and make sure your solder paste is new. If you find parts in the wrong place, fix your machines and teach your workers again.
Fixing problems on time keeps your project moving. If you repair a bad pcb right away, you spend less money and avoid waiting. For example, if you pay $20 to fix one board, fixing 500 boards costs $10,000. If you wait too long, you could lose even more money and time.
Note: Fixing problems fast during fai helps your schedule and budget. You keep your work going and give good boards to your customers.
After First Article Inspection
Interpreting Results
You have to look at the results from first article inspection very carefully. This helps you see if your board meets all the important rules. You should check many things, like:
- The quality of the board and its parts
- If all the parts are there
- The steps used to make the board
- The machines used to put it together
- If the templates match the design
- How strong the solder joints are
- If parts are facing the right way
- The types of packages used
- If the electrical connections are correct
You also need to look at how the board is made:
- How much it weighs and how dense it is
- If it is stiff and how smooth the surface is
- The color of the board
- The space between the edges
- Where the holes are and their shapes
You must compare these results to your design plans. If you find a problem, write it down right away. You need to figure out what caused the problem and fix it. Always tell your customer about big problems and show how you fixed them. After you fix something, check again to see if it worked. Write down every step in your fai report. Use what you learn to make your next boards even better.
Tip: Careful checks and good notes help you not make the same mistakes next time.
Next Steps and Mass Production
When you finish first article inspection and everything is okay, you can start making many boards. You need to follow steps to keep the boards good:
- Watch the process to catch changes early.
- Check the boards while you make them.
- Make sure parts are put in the right place.
- Look at the solder joints for each batch.
- Test the board to see if it works.
- Test the board in tough conditions.
- Keep good records for every board.
You should use a strong quality system. This helps your pcb stay good and meet the rules. Checking at every step helps you find problems and fix them fast. Good quality control makes customers trust you and helps your business.
If you skip these steps, you might have mistakes or recalls. Fixing problems early saves time and money. When you use what you learn from fai, you make better boards every time.
Note: Checking and improving often helps you make strong boards that work well every time.
You make your PCB projects better when you follow each step of first article inspection. This process helps you find mistakes early. It keeps your boards working well. You save money because you check everything before making many boards. You do not have to fix big problems later.
- If you check carefully, you:
- Make sure your design and product are the same
- Help your team work faster
- Keep the quality the same every time
- Spend less money
| Benefit | Impact on Your Business |
|---|---|
| Fewer warranty claims | You save money and customers trust you |
| Higher yields | You make more good boards and waste less |
| Faster time-to-market | You can sell products with fewer delays |
If you check the first board well, you will do better and make strong, reliable PCBs every time.
FAQ
What is the main goal of PCB first article inspection?
You check the first board to make sure it matches your design. This step helps you find mistakes early. You use the results to guide mass production and keep quality high.
How do you know if a PCB passes inspection?
You compare the board to your design plans and industry standards. If all features match and no defects appear, you approve the board for production.
What tools do you use during inspection?
You use magnifying tools, AOI machines, and X-ray systems. These tools help you find tiny problems, check hidden parts, and make sure everything fits the design.
When should you review fai requirements?
You should review fai requirements before starting inspection. This helps you collect the right documents, set up your tests, and make sure you follow all rules for your project.
What happens if you find a defect during inspection?
You stop production and fix the problem. You check the cause, repair the board, and test again. This process helps you avoid making many boards with the same issue.